
Snapshots of trajectories in Goodsell style
Published:
In this short tutorial, I show how to make snapshots of trajectory in the style of David Goodsell.
I know two ways of making such pictures:
- Using VMD
- Using Blender and GIMP
1. VMD
Load a file with coordinates (*.pdb, *gro, *.xyz, etc.) to VMD. Choose Graphics > Representation. In Draw Style, choose Material “Goodsell” and Drawing method “VDW”. Render the image File > Render using Tachyon rendering. That is it! Here is my result: 
2. Blender and GIMP
A slightly better result can be achieved by using Blender and GIMP. It demands more work than rendering in VMD, but it is worth it. Especially in the case if you want to publish it. I have seen this method described on stackexchange.com and here is my adaptation of it.
Firstly, load *.pdb file into Blender using *.pdb importer plugin. (If you have some different format of the coordinate file you can covert it using VMD or gromacs (i.e., gmx editconf) to pdb). To activate the plugin follow:
File > User preferences > Addons > Find “PDB” > Import-Export: Atomic Blender - PDB and tick the checkbox. Then, import the *.pdb file: File > Import > Protein Data Bank (pdb) and open a file.Adjust the position of a camera (see for example link). In my case, I had also increase clipping distance in the right panel.

Use environmental lighting and change the color of the background on the right panel.
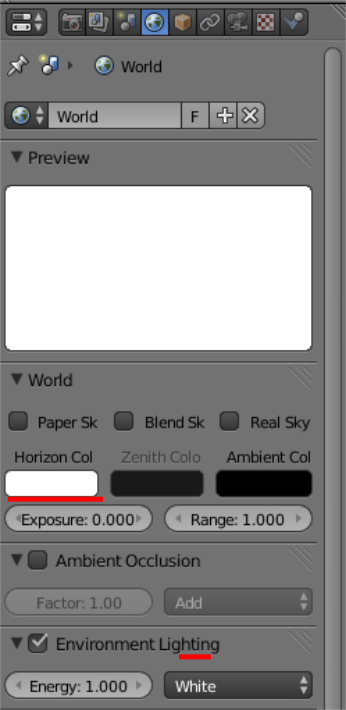
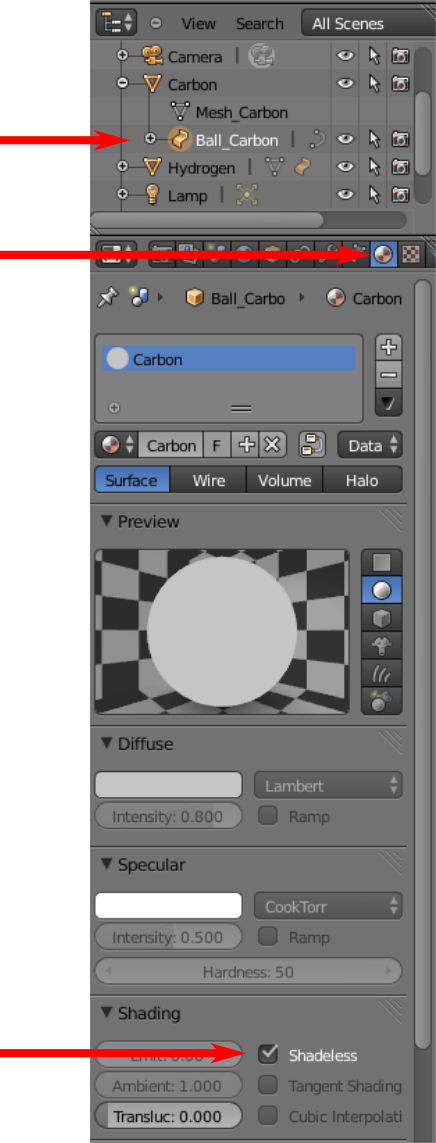
Change the surface of atoms to shadeless: for every atom in right panel select name of the atom (i.g., Carbon) and the type of objects (i.g., Ball_Carbon), select Material, and in section Shading tick Shadeless.
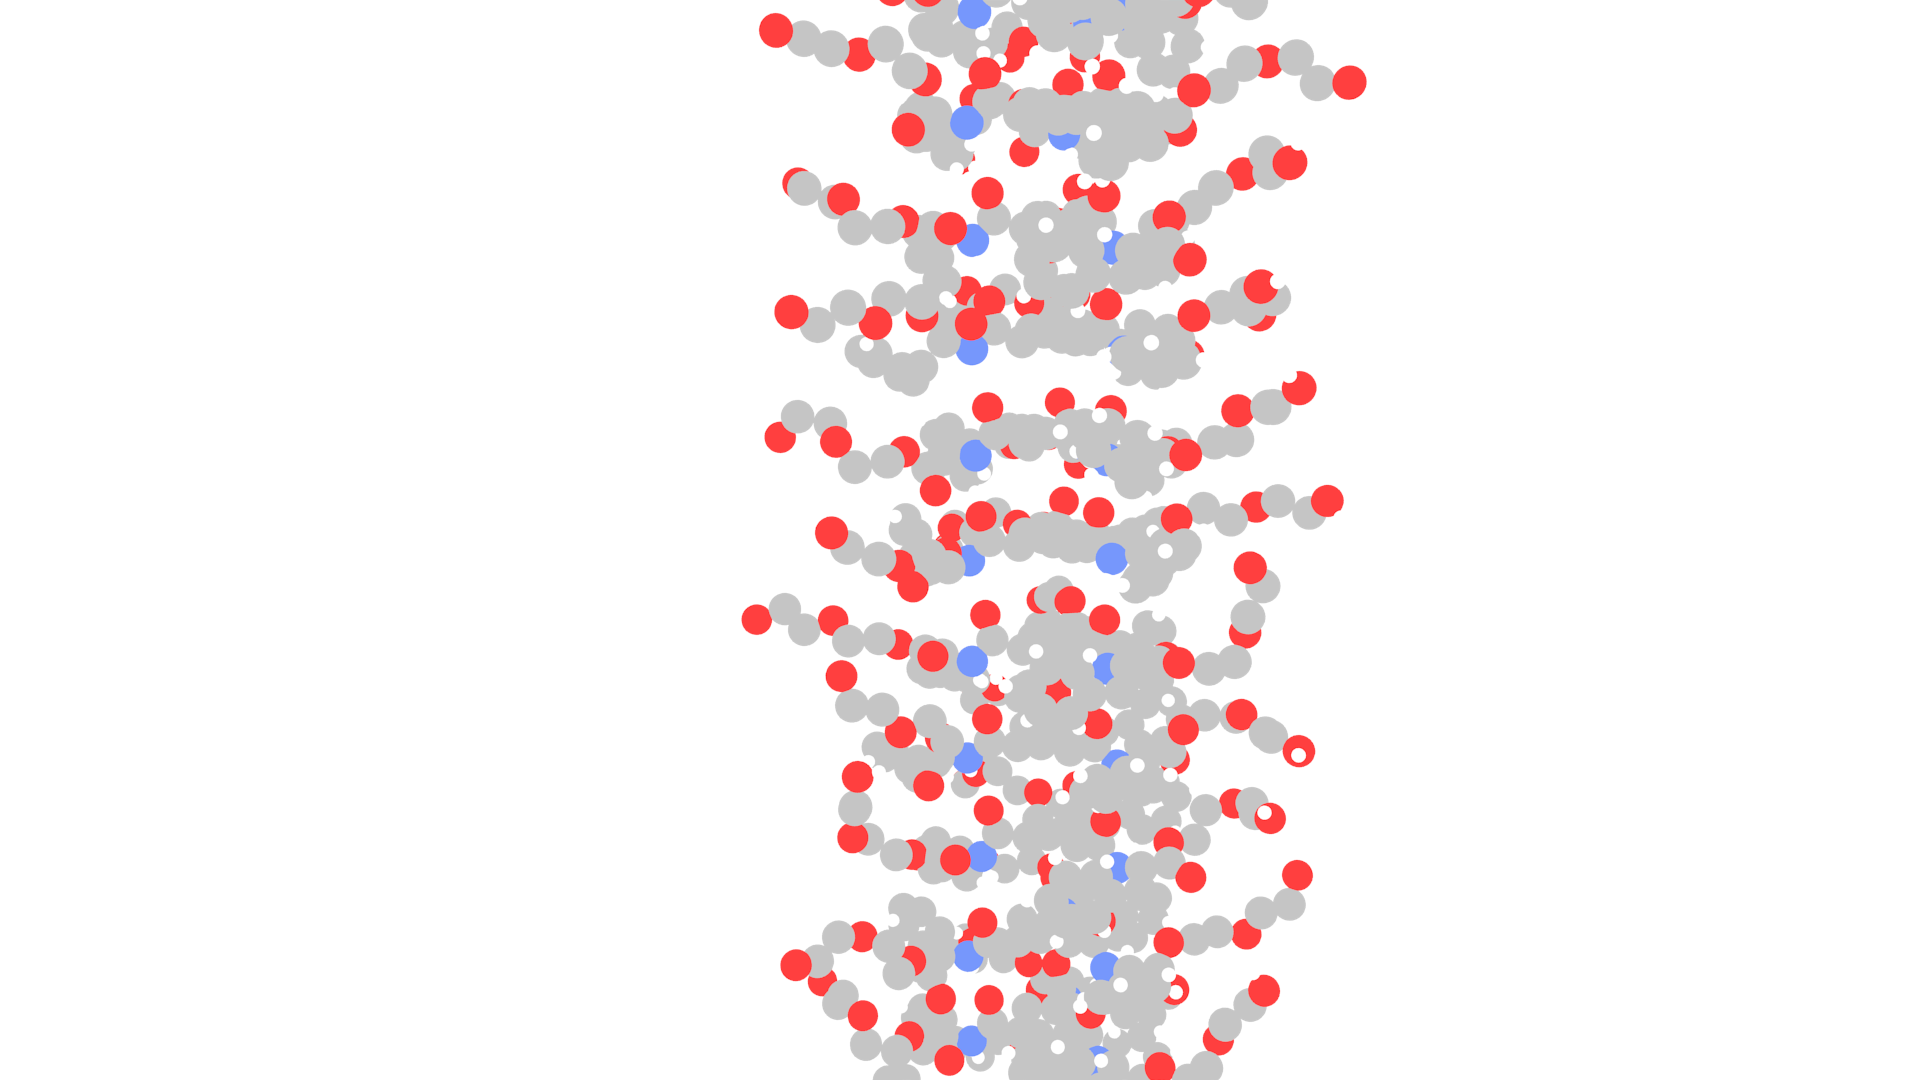
Render the image and save. At this stage I have obtain such image:
Save the z-buffer. We need it to create lines on the edges of atoms.Change to Composite mode and tick “Use Nodes”.

Add normalization node: Shift+a > Vector > Normalize connetct Z-buffer of Rendered Layers to normalization module. Value of normalized module connect to composite module.
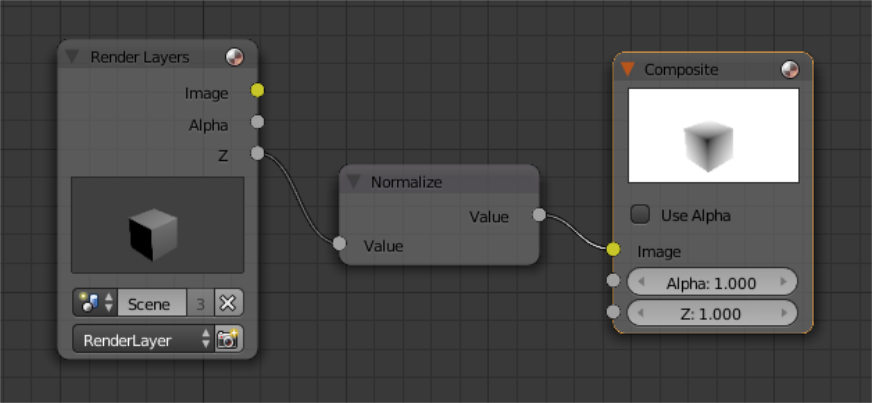
- Render and save the resulted image of Z-buffer.
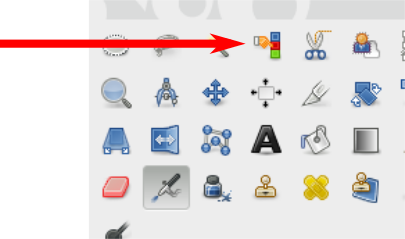
- Open both images in GIMP. Put the z-buffer as a top layer. Select z-buffer layer and select Filters > Edge detect > Edge …> OK (I used default option and amount 10)
- Invert colors _Colors > Invert)
- Remove white parts by selecting select by color tool. Increase the threshold to 100 and select the white background. Remove it.
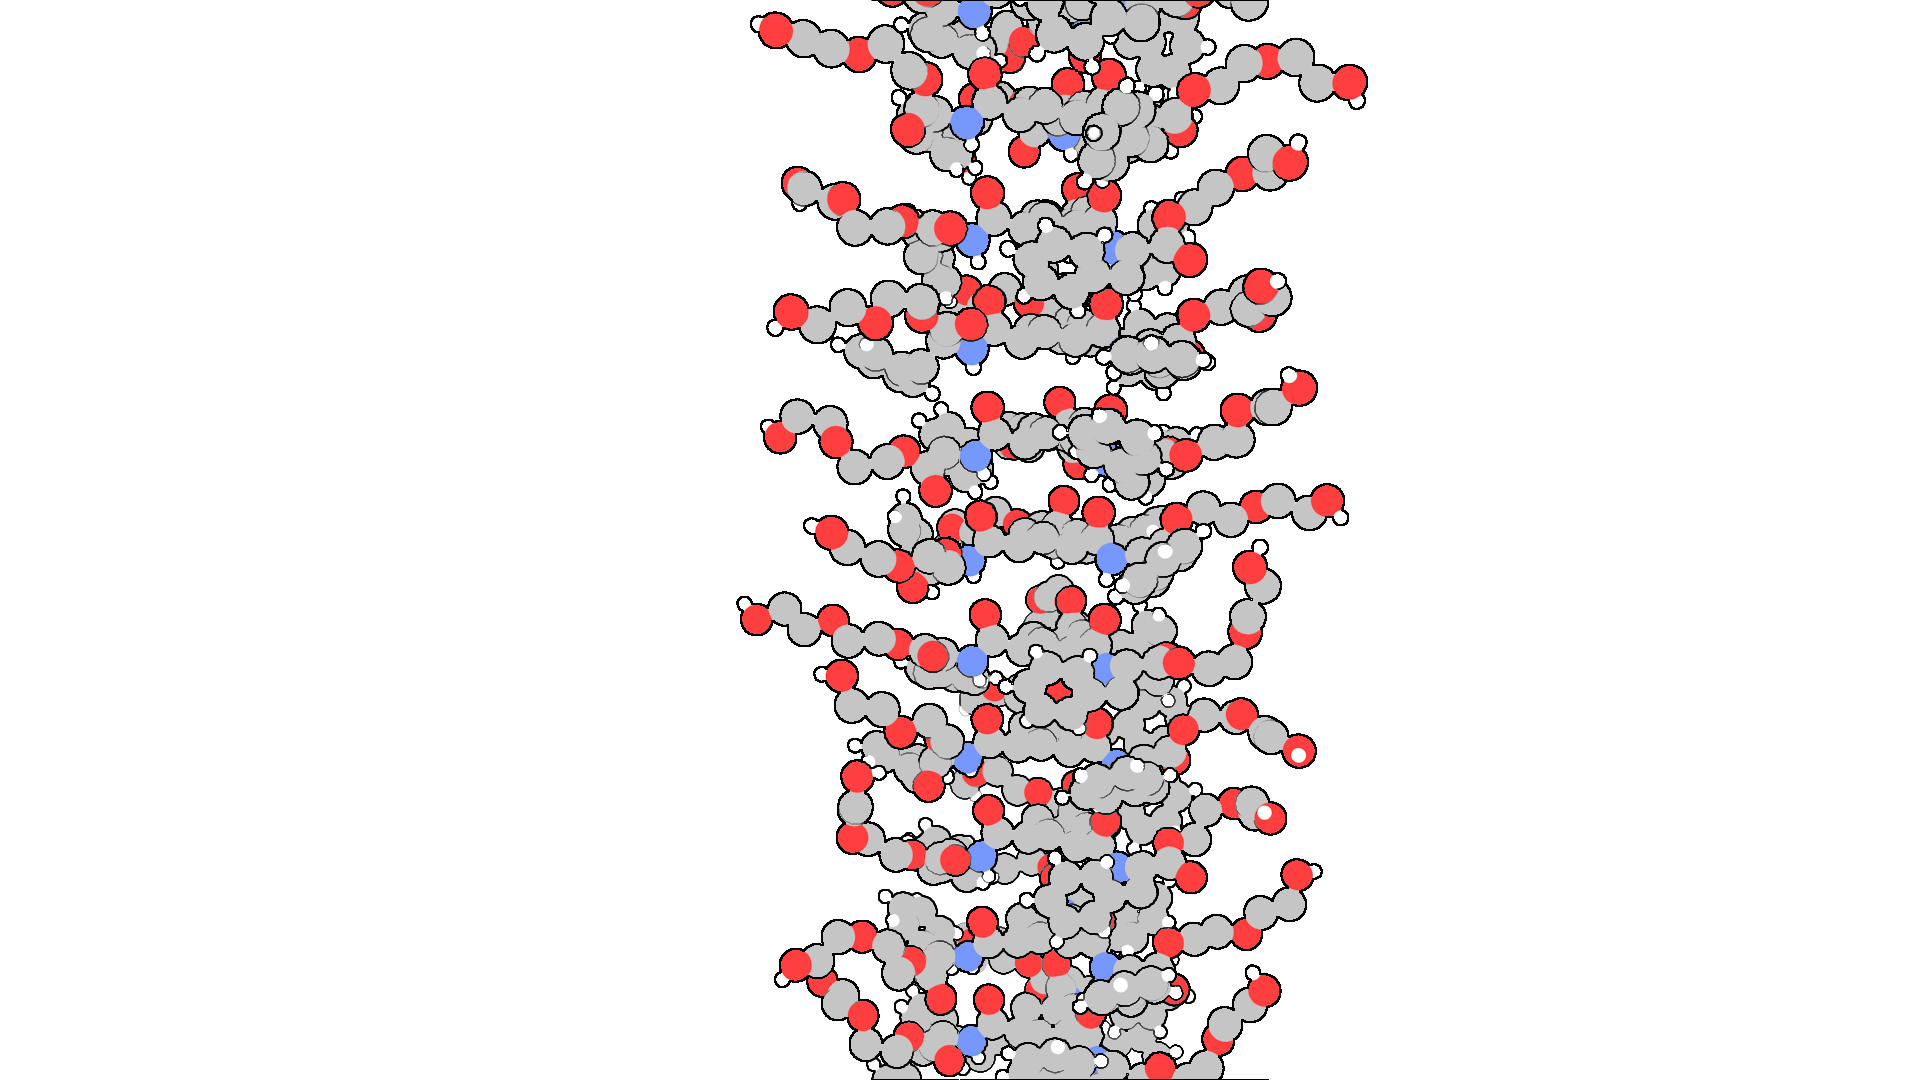
Now you should get a pretty image. This is the result which I got:
This method is a little bit more hassle, but it is worth it. Especially if you would like to make a picture for a cover of a thesis/journal.